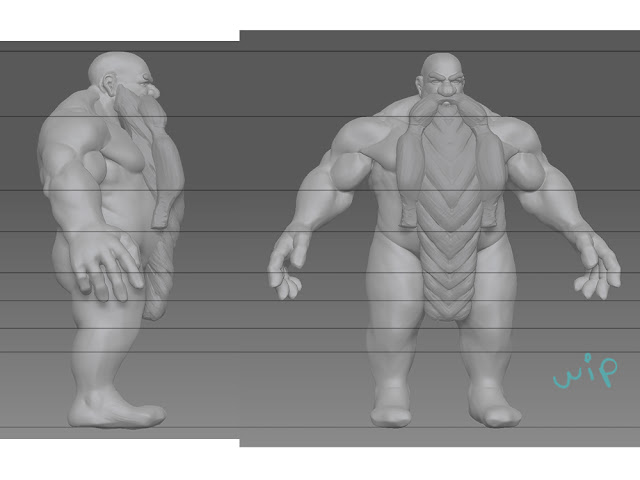
As I already knew we would be making a statue this term, I made a podium in the fountain of my battle arena. On this podium I wanted a statue that would fit the image. I decided on a regal looking dwarf as the placement looks quite important anyway.
I had a style in mind and the words regal, Celtic, Dwarven and warrior. I looked online to find some ideas and found some statues with interesting patterns. I also knew I wanted a weapon incorporated in the statue so looked at some good designs.
I began by doing some pencil sketches. I really like the face design and think it can be interesting to model.
I wanted to get an anatomy reference picture but it was almost impossible to find any decent ones for dwarf proportions.
Although this isn't exactly the proportions I had in mind for my character, I used it a base, though I couldn't find any which I liked facing forward.
Using images I found online and cropping them, I patched together an idea for my character.
I then went over and sketched my version to use for my model.
I then searched for a 3D model with it's wireframe showing to help me actually model though this. I can't just make a taller male's body and shrink it as the proportions are different but this picture is also different to what I had planned so I'm not sure how this will turn out.


