Showing posts with label Unity. Show all posts

Thursday, 7 April 2016

Week 23 - Particle Effects in Unity

For this weeks session we learned how to use particle effects to make fire and smoke.

 We were given a simple scene to work with where we added the smoke and fire onto.

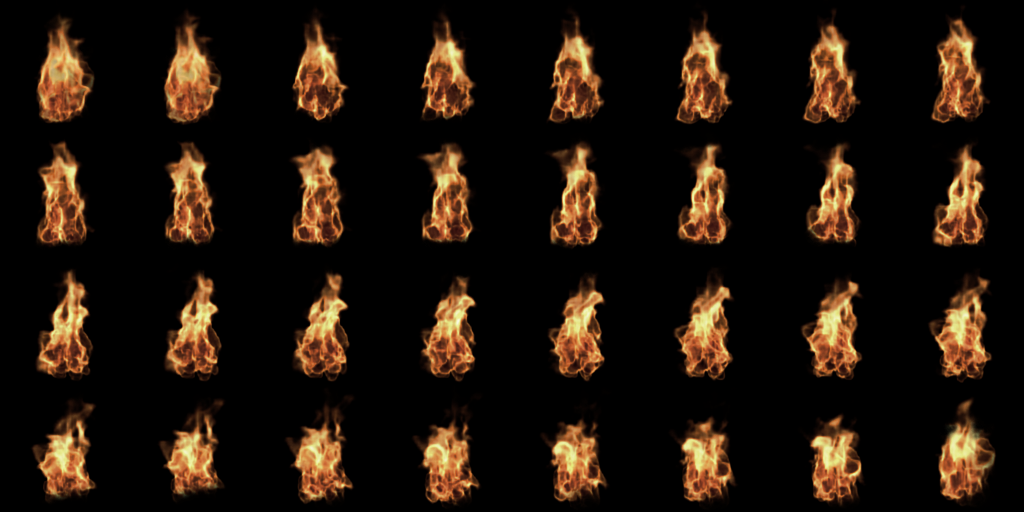
 First we created the fire, adjusting it to how we wanted to make it look as realistic as possible. We copied over the fire to create the smoke but changed the image, colour, size and rotation and other aspects so that the particles acted more like smoke.


These are the images we were given to create the two.

Overall this is what the final product looked like. I enjoyed learning this and would like to hopefully do something similar for the waterfall in my battle arena.

Saturday, 19 March 2016

Week 22 - Creating Day and Night

One of the key elements in our game is the change between day and night.

Cristian painted both backgrounds so I made two different scenes, day and night, as each level has different parts. I don't have the day version of the enemy and player yet or any sprite sheets so I just used the night sprites and made different prefabs with them.

I prefer the way the nighttime looks so far as it seems more interesting and fun. This scene has two enemies as the werewolf version of the player has higher health and attack.

I used what we learned when making menus to activate different levels. We decided to have a countdown of two minutes between scenes. I added this piece of script but haven't yet figured out how to phase between the two nicely.

Friday, 19 February 2016

Week 20 - Putting the Art into Unity

Cristian roughly painted a few different scenes so that we could choose one we all agreed on and I had painted the potion so went and started assembling everything into Unity.

We decided on this background but with a slightly more purple hues. I hadn't been given any character to use yet so I placed one of the standard asset sprites so I could start sizing things and placing objects where I needed them.

Saturday, 30 January 2016

Week 17 - Full Moon Prototype

In the early stages of the game we don't have that much art ready for us to use. I used what we have to begin  build the game as the gameplay should be worked on before the art so that it all fits together nicely.

I used the sketch of the character Bryony drew for both the main and enemy character and put in the background art Cristian drew. I really like how the background looks but we realised it was too short. We could shrink the screen size but instead I asked him to redraw it but more stretched. I also realised that it didn't look like the character is actually on the field. It is too obviously just an image and doesn't work well with the characters. I decided that 2048 * 1080 is a good resolution for the screen and showed Cristian how it needed to be edited to improve it.

Tuesday, 1 December 2015

Week 11 - Sound and Ambiance

These last couple of weeks I've been focusing on the scripting and feel of my  game.

I added a plane with a pavement material so that when you look out the window you aren't just looking at nothing. I thought this was a good object to use to connect my sounds to. I attached a soundtrack from YouTube (Up the Spirit Cavern Walls converted with http://www.youtube-mp3.org/) to this plane as well as a sound effect of birds in the background (found on https://www.freesound.org/). I set them both to play on awake and loop. I adjusted the volumes too, making the sound effect much quieter than the soundtrack so that it doesn't distract from it but you can still hear it occasionally which I think gives it a much more realistic and deeper feel.

 I had added lights as well as a large window but I still felt the room felt very dark and dull, as you can see in the screenshot above. I found some scripts that were downloaded with the standard assets pack in unity. I tried adding the bloom script to the main camera in the FPS controller but didn't think it gave it the right affect.

Then I found the bloom and flares script which made everything much lighter. I wanted it to be morning so it wouldn't be very bright so I feel this is just the right amount of light.

Friday, 20 November 2015

Week 09 - Adding materials

As I was looking around in my walking simulator, I noticed that the size of the character in comparison to the objects in the room made it very difficult to tell what things were. As a normal sized character things are more obvious as you can see the whole object, even if it is just a greybox whereas when you are small and on the floor, everything just looks the same.


I decided to download some free material packs from the asset store. We aren't supposed to texture as it would take too long but I felt I needed at least some basic materials in my game. You can't select faces in Unity so when you add a material, it adds it to the whole object. Because of this I went back into Maya and separated some faces from objects such as the floor and part of the lights.

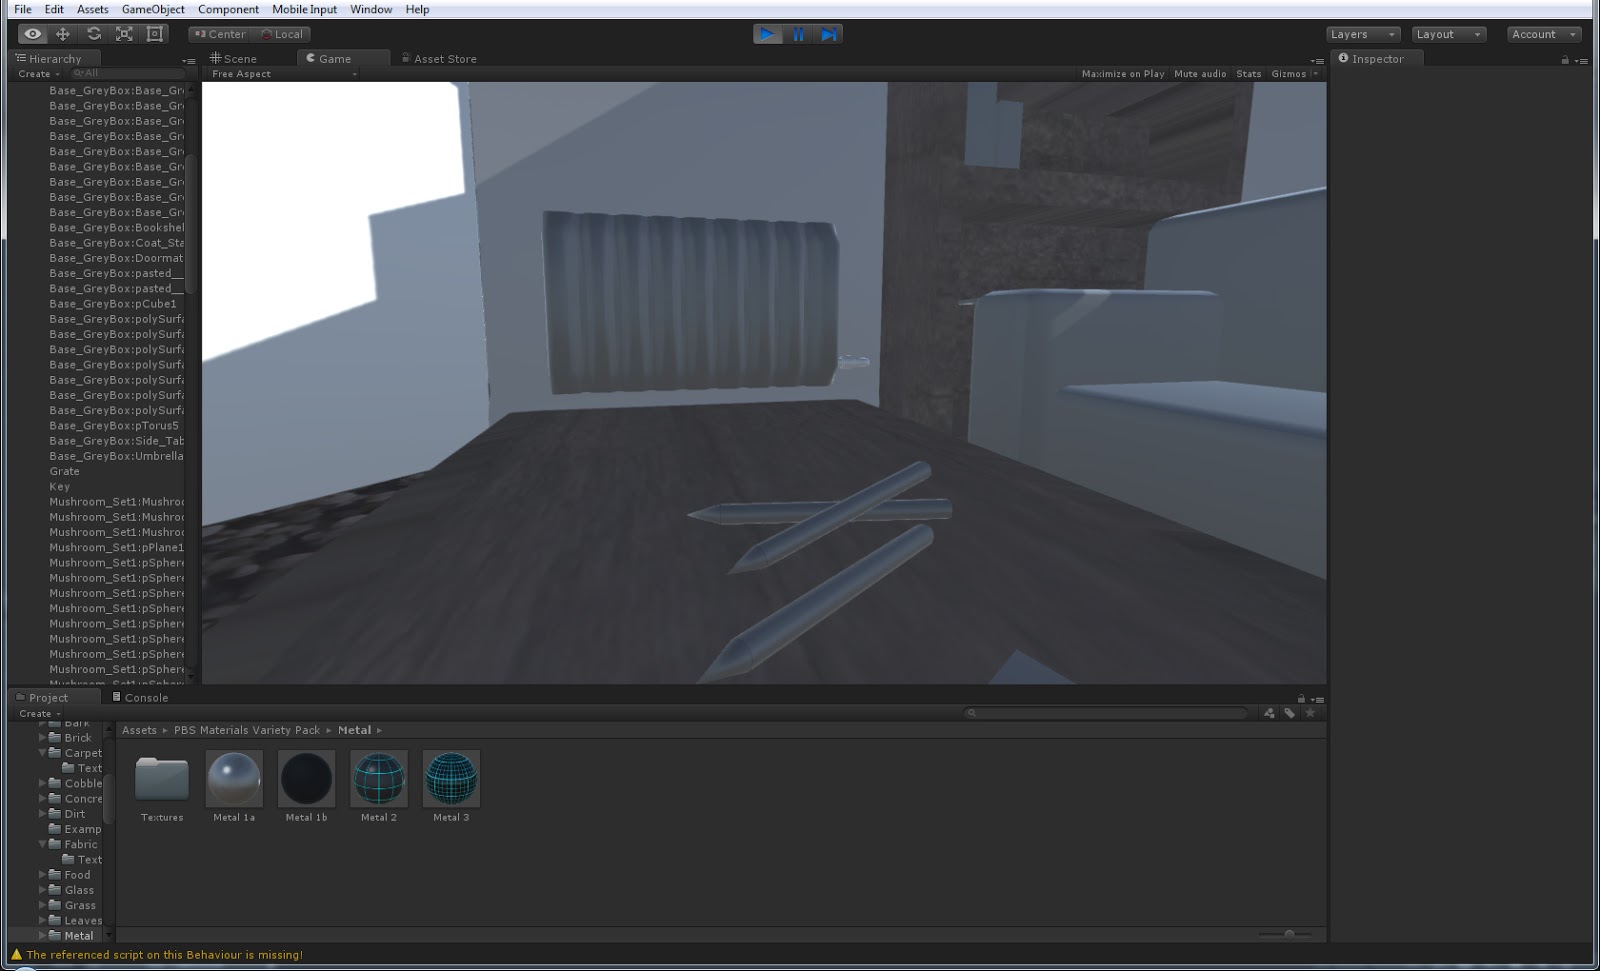
In this screenshot you can see that I used a glass texture for the window. I needed this to bring some light into the room as even with lights it was too dark. Unity has a pre installed glass effect which I had previously tried using. It made the object see through but it was completely invisible and did not look like glass at all so I decided to use the one from the pack which looks like it has a rough glass texture.

I added a metal material to the key as before it completely blended into the book underneath and most people who tested the game completely walked past it. One problem I found is that the materials stretched on each face causing strange patterns like what happened here. I also had the same problem when adding a material to the sofas. I don't think this will be too much of a problem as it is only supposed to be a greybox in the first place.

Monday, 12 October 2015

Week 04 - Walking Simulator in Unity

After seeing how to give objects a trigger I decided to test out my model in Unity with a character.
 
When I first imported in my Maya model it was incredibly small, much smaller than I thought I had made it, especially seeing as my character would be very small. I scaled it but it'll be better if I back to Maya and edit it there. Walking around at the angle the character is at actually helped me noticed lots of little mistakes such as object too far in the wall.

One big issue I found was the fact that you could actually jump onto the steps which I didn't want to be able to as I don't have an upstairs planned. I considered making the character smaller or making the jumping of the character smaller but then you couldn't reach some of the other parts you need to be able to climb so I went back to Maya and stretched the bottom step a little.